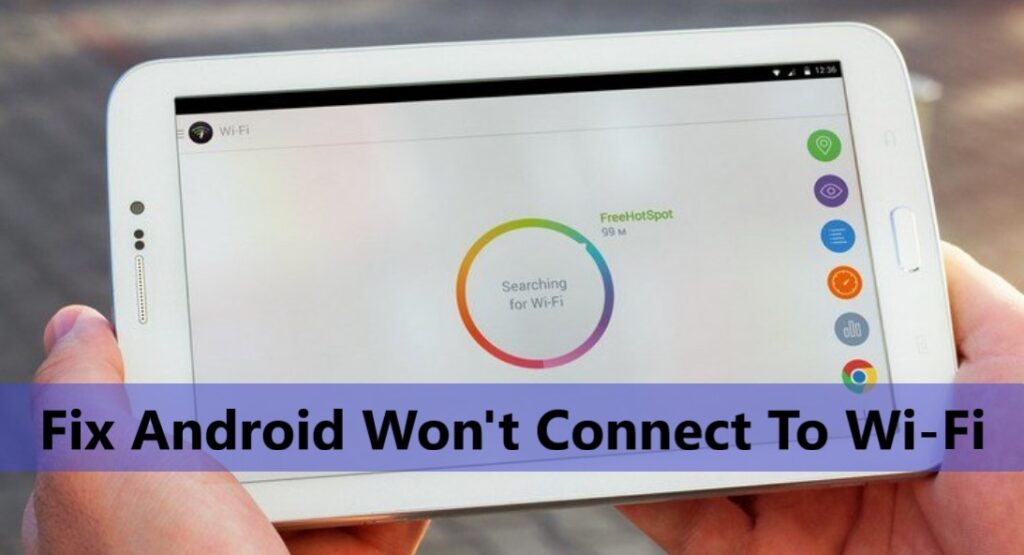
Whether you need to search for something online, join online classes, browse social media, reply to important emails, play online games, or binge your favorite show you need your Android phone connected to the internet to do these things.
This is why It’s very frustrating when your Android phone won’t connect to Wi-Fi. If you too are facing a problem connecting your Android Phone/Tablet to Wi-Fi, you are not alone. Nowadays, it’s a common issue, unfortunately, a lot of Android phone/Tablet users are facing this problem from time to time.
In this article, we are going to share 5 fixes. That might possibly fix your Wi-Fi connectivity problem and help your Android phone/Tablet back online.
Solution 1- Check Your Wi-Fi Router Internet Connection
To check the Wi-Fi problem the first thing you check is the internet connection. Check your router and see if the internet connection is active you can see the green light indicator. Try another device if Wi-Fi is not working on another device too then there is some problem with your Wi-Fi router or the internet connection is down. Call your internet service provider and get it fixed.
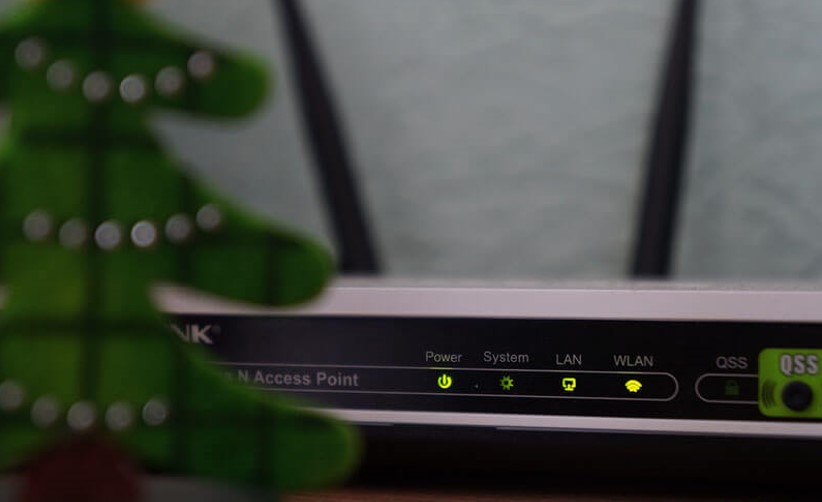
If the Wi-Fi is working on another device and it is just not working on your phone then it means your router and internet connection is fine. There is a problem with your phone that needs to be fixed to get your phone connected to Wi-Fi. To do so follow the next solution given.
Solution 2- Restart Your Android Phone in Safe Mode
There are sometimes issues in the Phone itself that can cause the problem, which prevents your Android phone to connect to Wi-Fi. But don’t worry there are solutions to fix this issue. The first solution you should try is to boot your Android Phone in Safe Mode. Booting Android device in Safe Mode resolves lots of Android system-related issues. It may fix this Android not being able to connect problem too.
Now the steps to restart your Android phone in safe mode depending upon your device’s make and model, but the basic process is almost the same on Android. Follow the steps as follows.
Switch off your Android Smartphone by pressing the power switch and touching the power of option when it appears on the screen.

Then a pop-up to boot the phone in Safe Mode will appear. Press OK and your phone will boot to Safe Mode.

When the phone is switched off, how to boot the phone to Safe Mode:
Some device UI are different and the above-mentioned option (to boot Safe mode while phone on) might not be available. Here you have to switch off your phone and then you can boot your phone to safe mode. How to follow the instruction below.
Press your phone’s power button and hold till the Android bot animation appears. Then when the Android bot appears press the Volume down button and hold till the Android bot disappears and then the phone should restart in Safe Mode.
To exit from Safe Mode to regular mode just Restart your phone.
Solution 3- Reset Wi-Fi Settings on Your Android Phone
If the above solution didn’t fix the issue, you can try and reset your Android device’s network settings. Resetting network settings on your Android device might possibly remove the bug that might create the issue. This should help in getting your Android phone connected to Wi-Fi again.
Trying to reset your wi-fi settings but can’t remember your wi-fi password as you logged in a long time ago and have forgotten it. Don’t worry watch this video and find your Wi-Fi password on a Windows computer.
Let’s now see how to reset your Android Device network settings, step by step.
Go to the phone menu and open Settings.
Then tap on General Management > Reset.

Tap on Reset network settings if prompted enter your phone Password, Pin or Pattern.

Then review the information and confirm tap Reset.
Now try and reconnect to the Wi-Fi network and your Android device should connect.
Solution 4- Fix Android Phone Issues Using Android Repair Tool
Download or Buy Now Android Repair Software
 |  |
Important: Make sure you have Back-Up your device data before you use Android Repair to fix your Samsung device system issues because the repair process might erase all the data from your device. Check different ways to backup Android phones under Solution 5 below.
Before you begin first download and install Android Repair on your PC/Laptop from the links provided on this page.
Step 1. Connect your Android Phone to your computer
Open Android Repair software on your computer and select “Repair”

Now connect your Android Phone to your computer via USB cable & click on “Android Repair”

You will now get the device information window, here select the correct brand, name, model, country/region, ad carrier details. Then confirm the warning and click ‘Next’.

In the repair process, the Android repair might erase all data on your Android Phone. Type in “000000” to confirm to proceed further.

Important: Make sure you backup your Android Phone data before you start to repair your Android Phone.
Step 2. Boot your Android Phone in Download mode.
Now before you begin the android repair, it is compulsory to boot your Android Phone in Download mode. Carefully follow the instruction given below to boot your Android Phone in Download mode.
Steps for Android Phone with Home button:
- Switch off your Android Phone.
- Now, press and hold “Volume Down+ Home+ Power buttons” for 5 to 10 seconds.
- Release all the buttons and then press the ‘Volume Up’ button to enter Download Mode

Steps for Android Phone with no home button:
- Switch off your Android Phone.
- Now, press and hold “Volume Down+ Bixby+ Power buttons” for 5 to 10 seconds.
- Release all the buttons and then press the ‘Volume Up’ button to enter Download mode.

Now click ‘Next’ the Android Repair program will start downloading the firmware.

Now after the download completes and the firmware is verified, the program automatically begins to repair your Android Phone.

Within minutes, your Android Phone all system issues get fixed back to normal.

| |
Solution 5- Factory Reset Your Android Phone
After you have tried all the methods discussed above, yet if the issue “Wi-Fi not able to connect” persists. The last resort that is left is to factory reset your Android Phone/Tablet. There are two methods to Factory Reset Android devices. The first method is when the phone is ON and the second when the phone is Switched Off.
Important note: Before you perform factory reset backup your data from your Android Phone/Tablet to PC because factory reset will wipe all the data from your Android Phone/Tablet.
Read More:
How to backup your data from Samsung Galaxy Smartphones
Factory Reset Android Phone without Losing Any Data
3 Best Ways To Backup and Restore OnePlus 7 & 7Pro
Best Methods How To Backup and Restore OPPO Smartphones
How To Backup And Restore Redmi Note 9s/9 Pro/9 Pro Max/8/8T/8 Pro
How To Backup And Restore Vivo S1/ S1 Pro
After you backup, all your data from your Android Phone/Tablet, follow the steps given below and perform a factory reset.
Method 1
Step 1. Go to your Phone Menu >Settings > Backup & reset. Once you click on Backup & reset a new page will appear where you can see the option ‘Factory data reset’

Step 2. Press the ‘Factory data reset’ tab
Step 4: If everything is done right you will see an Android bot on the screen, wait and your device will reset in a few minutes.
Method 2
Switch off your Android Phone/Tablet.
Step 1- To go to Recovery Mode on Samsung’s Android Phones press the “Volume Up” and “Bixby” buttons together.
Step 2- Press the “Power button” altogether until the phone vibrates.
Note: On other Android phones that don’t have a Bixby button. When the phone is switched off, press the Power switch and Volume Up button both at once and hold till recovery mode options appear on your phone’s screen on some android devices it may show Boot mode tap on it, and go to recovery mode.

When you see the device logo on the screen you can release all the buttons, the wait for a few seconds for the Recovery screen to appear. The screen will as shown in the image below.

Step 3- Use the volume key to navigate go to “Wipe data/factory reset” then use the “Power button” to select. After you press the power button you will see a screen as shown below with options “Yes” and “No”.

Step 4- Use the volume key to navigate if and select “Yes” then press the “Power button” to Factory Reset. Wait for the time the device resets.

Step 5- After Reset is done, select “Reboot” to complete the reset process.
This shall fix the “Wi-Fi not able to connect” issue on your Android. Now you can restore your backup data from the backup you created and your Android Phone/Tablet is ready to be used.
Conclusion
These are the solution that commonly fixes the Wi-Fi connection problem. We hope we helped you solve your Wi-Fi connection issue, where your phone won’t connect to Wi-Fi. So, now you should be back online enjoying your online shows and class. Please let us know how it went, and what solution worked and helped you. Follow us on Facebook and remain updated with posts like this related to Android phones.

![How To Fix Can’t Connect To Camera Error On Android [10 Best Ways]](https://androidphone-recovery.com/wp-content/uploads/2021/01/how-to-fix-cant-connect-to-camera-error-on-android-1024x574.jpg)